
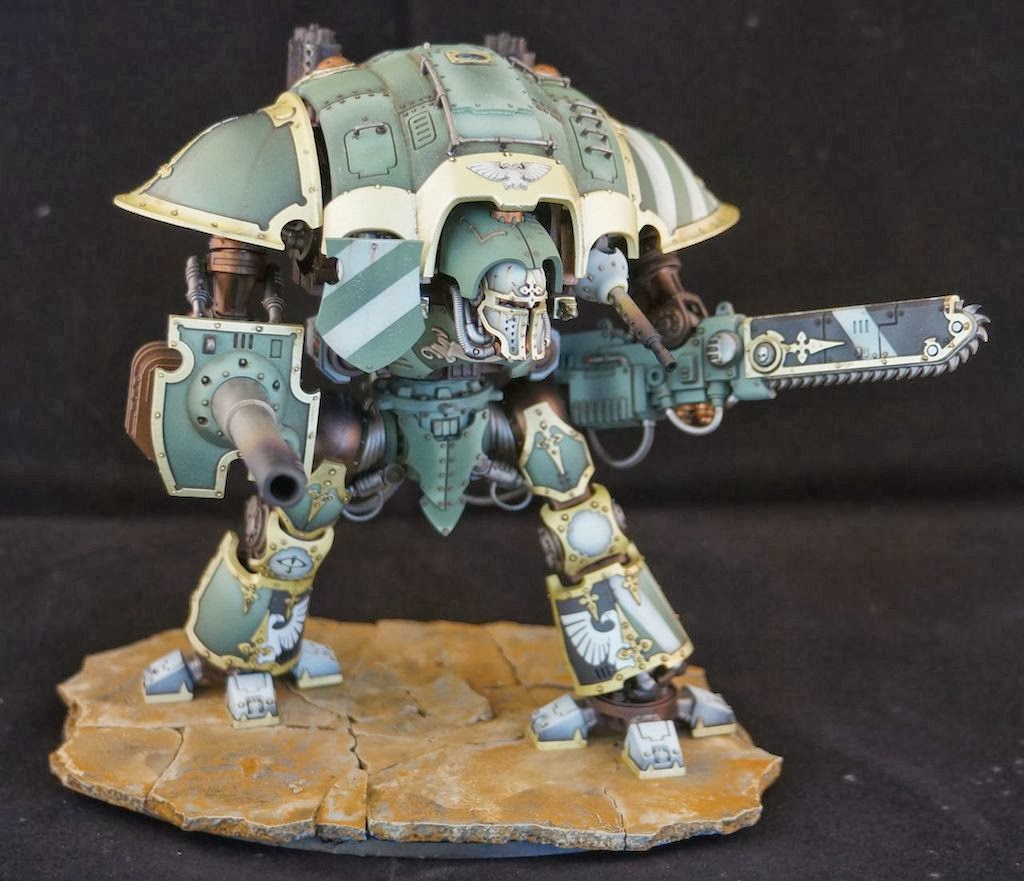


I weathered the faceplate of the knight, but not the rest of it. These are the last photos of the knight pre paint chipping, oils, and weathering powders. Hopefully all goes well, as two more of this knight's brethren are inbound.
I have not decided how to base the knight, so I decided to cast up some broken concrete as a temporary base. The feet will be weathered to match this.
I broke out the photo booth to try and take better photos. There is still too much light, causing the model to look more washed out than it is in person, but I think I've improved my photography none the less.
Looks amazing - the weathering is great so far
ReplyDeleteUtterly fantastic job. Cockpit is the best I've seen and the paintjob is so lifelike I expect it to start stomping around. Can't decide if it makes me want to go buy my own knight or intimidates me in the other direction.
ReplyDeleteReal talk though: How do you do those computer screens? I've got a Damocles Rhino on my bench that could really use some high gloss screens...
I use a black base coat. Then I paint the GW lime green color about halfway up from the bottom of the screen. I then blend Dark angles green over the middle section, leaving as much black up top as lime green on the bottom. Wash with DA green, then add the reflective dot. I finish with two coats of varnish.
DeleteGorgeous looking Knight.
ReplyDeleteThe weathering will take it up to another level again.
You are right. I just finished the weathering. I was really nervous doing it, but It really helps. I'll put those photos up tomorrow.
DeleteWhat did you use to attach the Knight to the base? my base was textured and painted without the Knight glued down and now I find the toes are hollow underneath so I have no real contact area for the glue, I might have to fill in the toes underside so I can get a good bond to the textured base.
DeleteI did not glue it down. I like being able to take the model off of the base and have it stand on the gaming board directly. However the knights I am working on may end up with more dynamic poses, where I will have to attach them. My plan is to embed plastic on the base and then glue it with plastic glue. Embedding magnets is another option. There is plenty of room for some big ones.
DeleteWow. Unlike some of the paintjobs I've seen of this kit so far, yours really gives it a sense of scale. Fantastic work! Can't wait to see what further weathering will do to it.
ReplyDeleteAnd this is not done? Can't wait to see it finished. Looks amazing so far.
ReplyDeleteSick paint job!!!!
ReplyDeleteLooking great, mate!
ReplyDeleteAmazing work, the extra detail being put in by your good self really sells the kit and puts it into scale brilliantly with the addition of the cockpit. Cheers
ReplyDeleteLooking amazing dude :) mine will be finished tonight.
ReplyDeleteHoly freaking cockpit. Where did you get the bits for it?
ReplyDeletethe chair came from a warhound titan. The screens and control panel were cut out rhino and lr parts. I have no idea what kit the plastic part in the back came from. Various tubes and cables were added using white metal pieces.
DeleteThank you much. Can't find a warhound chair so I'm going to use a sentinel cockpit chair instead with some plasticard. Thanks for the bits info. I'll have to do some digging.
Delete