


I usually stay away from static grass. Like many, I can never seem to make it come out standing up. Usually I end up with a weird little mashed pile of the stuff. Taking a cue from the name of the stuff, I searched online for a solution. It turns out that all I needed was a negative ION generator. Enter the bug zapper.

It turns out that a bug zapper will do what I want. The basic principle is simple. Replace the racket head with a metal tea leaf basket and attach one of the two wires inside the device to the new static grass basket. Once that is done, take the second wire and attach it to a nail that will be positioned near any area needed static grass. Presto, a static grass applicator.


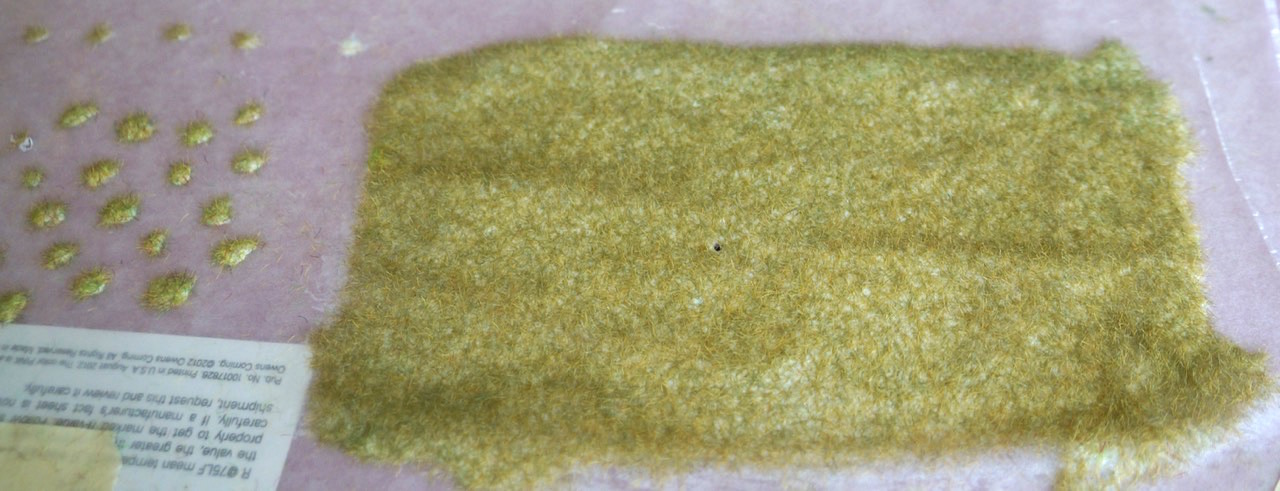
In the photo above I've already attached the tea leaf strainer to the handle of the bug zapper, and have inserted the long wire into the test piece. I used regular white glue for the test. One gotcha here is that the current generated is not terribly strong, so the basket needs to be close to the nail. I'll improve this later. For a test, I think it worked pretty well.

After I had the device built I grabbed containers full of static grass that I haven't used in years and started experimenting. I think the results would be better if I had some different lengths of static grass, but I think it still worked pretty well. The model railroad guys seem to use a variety of lengths. I've seen them apply grass right over the top of a base layer of previously applied grass.
So, what do I do with this now? I've already experimented making tufts of grass. I know how to make patches. I played around with a pen mashing down areas of the grass to make it look trampled. I suppose I could add static grass to something big. Any ideas? What would you do with this?
What....what...John you are blowing my mind, absolutely blowing my mind!
ReplyDeleteI aim to please. :)
DeleteI found some longer static grass and gave it a shot right over the top of the previous turf. I think it works. The glue droplets are slightly white which might make them look like flowers.
Be sure to test the glue long term! Always bad to find out anything yellows over time. (More on that as I finish my Mountain King series :(
DeleteI've seen this done before and it always looked like too much trouble; I'm always satisfied enough with the glue-and-mash... maybe with the cats the house is just naturally high-static.
ReplyDeleteI think the next step is to make plugs and sections that you can then glue to a table. That, or experiment with using it to make static grass look good as you glue it onto a table board.
So I'm intrigued, and somewhat mind-blown.. this is really, really cool. How does this work? You run the mesh over the grass after? Or you flat out dump the grass through the strainer?
ReplyDeleteI just used static grass large scale for the first time for WiP expo, and it turned out really well, even sticking up a nice amount. I bet using this to pull it up would've really worked well - the difference is I used varnish instead of glue. Essentially, "glue" the grass down with something very watery so there's less surface tension that the grass can stick to. I wonder if you used some of that spray on glue?
Also, if you want something stronger, the circuit looks pretty straight forward. Could probably build something with a 9V or more.
The static grass is sprinkled through the wire mesh. The mesh is connected to one of the wires and forms one end of the circuit. The loose wire attached to the nail on he terrain piece forms the other. I am planning on upping the voltage so the mesh does not need to get so close to the nail.
Delete